

Mar . 07, 2025 05:06 Back to list
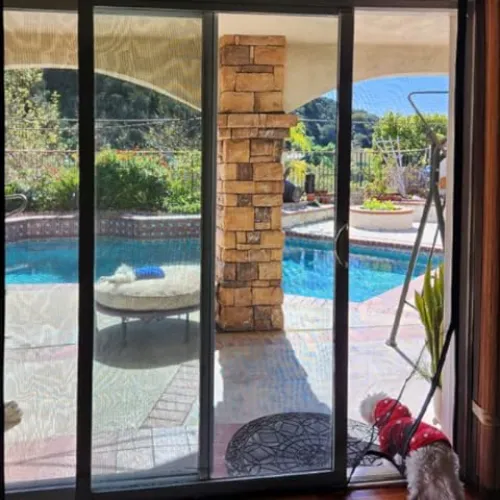
Sliding Screen Window
Replacing a window net might seem like a straightforward task, but it demands a keen understanding of both the product intricacies and the installation process to ensure comfort, safety, and energy efficiency in your living space. A well-maintained window net not only enhances the aesthetic appeal of a home but also ensures that you’re protected against pests while allowing natural light and fresh air to permeate your environment.
Beyond installation, maintenance of your window net is key to ensuring its longevity. Regular cleaning with mild soap and water can prevent the build-up of dust and allergens. It is advisable to inspect the net every few months for signs of wear, especially after severe weather. Timely repairs can extend the overall lifespan of your window net substantially. Installing a quality window net is a step towards achieving an environmentally friendly household. It aids in reducing reliance on air conditioning by allowing natural ventilation. Moreover, it acts as a protective shield against insects, thus minimizing the need for chemical repellents. A successful window net replacement combines quality materials, expert installation, and routine maintenance. These efforts not only enhance the comfort and safety of your home but also contribute significantly to energy efficiency. As with all home improvement projects, relying on the expertise of professionals for installation can save time and ensure accuracy. Engaging with a trusted service provider guarantees that the job is done to the highest standards, bringing peace of mind to homeowners. In summary, replacing a window net is more than a simple upgrade; it is an investment in your home’s comfort, safety, and aesthetic value. By understanding your specific needs, choosing the right materials, and executing correct installation and maintenance practices, you secure a healthier, safer, and more energy-efficient living environment. Seek advice and services from industry experts to ensure you make informed decisions at each step, guaranteeing an outcome that exceeds expectations and upholds the highest standards of home care.

Beyond installation, maintenance of your window net is key to ensuring its longevity. Regular cleaning with mild soap and water can prevent the build-up of dust and allergens. It is advisable to inspect the net every few months for signs of wear, especially after severe weather. Timely repairs can extend the overall lifespan of your window net substantially. Installing a quality window net is a step towards achieving an environmentally friendly household. It aids in reducing reliance on air conditioning by allowing natural ventilation. Moreover, it acts as a protective shield against insects, thus minimizing the need for chemical repellents. A successful window net replacement combines quality materials, expert installation, and routine maintenance. These efforts not only enhance the comfort and safety of your home but also contribute significantly to energy efficiency. As with all home improvement projects, relying on the expertise of professionals for installation can save time and ensure accuracy. Engaging with a trusted service provider guarantees that the job is done to the highest standards, bringing peace of mind to homeowners. In summary, replacing a window net is more than a simple upgrade; it is an investment in your home’s comfort, safety, and aesthetic value. By understanding your specific needs, choosing the right materials, and executing correct installation and maintenance practices, you secure a healthier, safer, and more energy-efficient living environment. Seek advice and services from industry experts to ensure you make informed decisions at each step, guaranteeing an outcome that exceeds expectations and upholds the highest standards of home care.


Latest news
-
Unveiling the Allure and Practicality of Classic Mosquito Nets
NewsJul.04,2025 -
Unraveling the World of Mosquito Nets: Varieties, Costs, and Production
NewsJul.04,2025 -
Redefining Protection and Style: The World of Mosquito Nets
NewsJul.04,2025 -
Enhancing Sleep and Style with Contemporary Mosquito Nets
NewsJul.04,2025 -
Diverse Solutions in Mosquito Netting: Sizes, Varieties, and Flexibility
NewsJul.04,2025 -
Deciphering Mosquito Nets: Significance, Varieties, and Applications
NewsJul.04,2025 -
Transforming Bedrooms into Mosquito - Free Havens
NewsJul.01,2025