

Feb . 10, 2025 23:42 Back to list
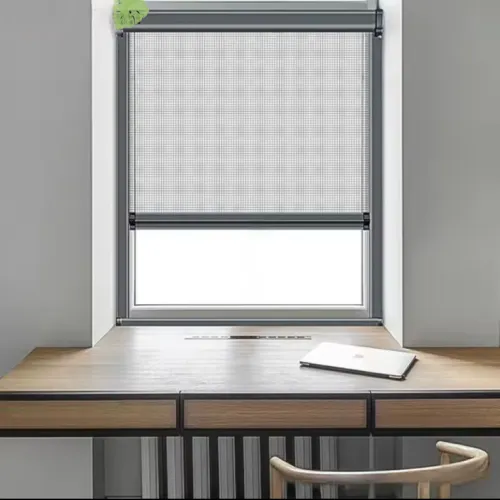
Roller Screen Door
Replacing a fly screen door mesh can seem like a daunting task to many, yet it is a home maintenance activity that can significantly enhance the comfort and functionality of your living space. By following the right steps and selecting quality materials, you can efficiently undertake this project and enkindle a sense of accomplishment while exploring the nuances of home upkeep. Here’s an authoritative guide that will walk you through the process with expertise drawn from real-world experience.
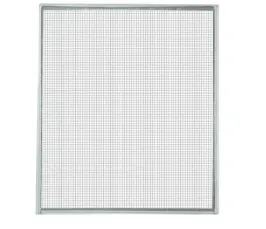
Insert the new spline into the groove atop the mesh, pressing it firmly into place using a screen roller. This process demands patience and a steady hand, a testament to the level of trustworthiness and skill required. Keeping the mesh taut is essential to avoid unnecessary bulge or sag, which might compromise its integrity and appearance. Once the spline is secure and the mesh taut across the frame, use a utility knife to carefully trim any excess mesh. This attention to detail embodies the authoritative standards necessary for a robust and professional-looking screen door installation. Re-mount the door onto its frame, ensuring that it swings smoothly and aligns correctly. This reassures the homeowner of the door’s functionality and reinstates the barrier against insects, enhancing both comfort and convenience within the home environment. In conclusion, replacing a fly screen door mesh is a project that embodies the values of experience, skill, and reliability. By adhering to this guide, you not only improve the aesthetics and function of your home but also build a skill set that underscores self-sufficiency and expertise. Such DIY projects foster a sense of guardianship over one’s living space that resonates with the principles of conscientious homeownership. In the end, this detailed focus on quality and precision enlivens your surroundings, ensuring the peace of mind that your home is well-protected and comfortable.
Insert the new spline into the groove atop the mesh, pressing it firmly into place using a screen roller. This process demands patience and a steady hand, a testament to the level of trustworthiness and skill required. Keeping the mesh taut is essential to avoid unnecessary bulge or sag, which might compromise its integrity and appearance. Once the spline is secure and the mesh taut across the frame, use a utility knife to carefully trim any excess mesh. This attention to detail embodies the authoritative standards necessary for a robust and professional-looking screen door installation. Re-mount the door onto its frame, ensuring that it swings smoothly and aligns correctly. This reassures the homeowner of the door’s functionality and reinstates the barrier against insects, enhancing both comfort and convenience within the home environment. In conclusion, replacing a fly screen door mesh is a project that embodies the values of experience, skill, and reliability. By adhering to this guide, you not only improve the aesthetics and function of your home but also build a skill set that underscores self-sufficiency and expertise. Such DIY projects foster a sense of guardianship over one’s living space that resonates with the principles of conscientious homeownership. In the end, this detailed focus on quality and precision enlivens your surroundings, ensuring the peace of mind that your home is well-protected and comfortable.


Latest news
-
Unveiling the Allure and Practicality of Classic Mosquito Nets
NewsJul.04,2025 -
Unraveling the World of Mosquito Nets: Varieties, Costs, and Production
NewsJul.04,2025 -
Redefining Protection and Style: The World of Mosquito Nets
NewsJul.04,2025 -
Enhancing Sleep and Style with Contemporary Mosquito Nets
NewsJul.04,2025 -
Diverse Solutions in Mosquito Netting: Sizes, Varieties, and Flexibility
NewsJul.04,2025 -
Deciphering Mosquito Nets: Significance, Varieties, and Applications
NewsJul.04,2025 -
Transforming Bedrooms into Mosquito - Free Havens
NewsJul.01,2025