

Mar . 07, 2025 05:37 Back to list
Window Screen with Magic Tape
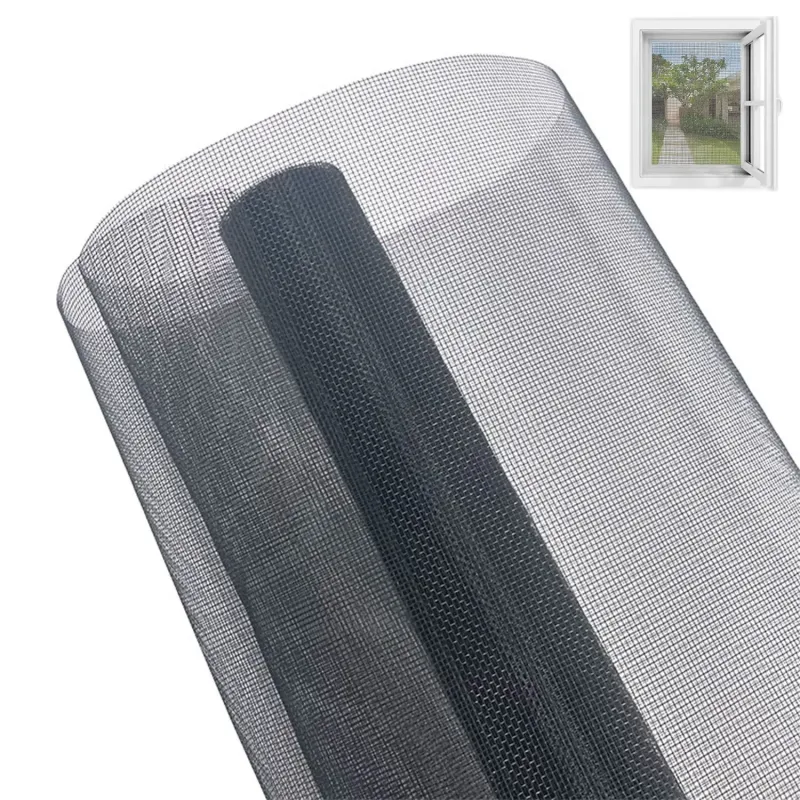
Replacing the mesh on a window screen might seem like a simple DIY task, but executing it effectively requires both a keen eye for detail and a comprehensive understanding of the materials involved. Window screens serve the crucial function of keeping pests out while allowing fresh air to circulate through your home. Over time, the mesh can become damaged due to exposure to the elements or physical impacts. This guide will walk you through the process of replacing the mesh, ensuring a result that is not only functional but also aesthetically pleasing.
With all sides properly secured, trim off the excess mesh by running the utility knife along the outer edge of the spline, maintaining a steady hand to avoid damaging the mesh or spline. Attention to detail is crucial here as uneven trimming can affect the visual appeal and functionality of the screen. After installation, inspect your work. The mesh should be taut but not overly stretched, and the spline should sit flush within the groove without gaps. This ensures not only a neat appearance but also optimal performance in keeping insects out. Finally, reattach the screen to your window. Most screens will simply pop back into place, but confirm a snug fit to prevent rattling or gaps that could allow insects to enter. Replacing a window screen mesh might seem daunting, but with the right materials and approach, it becomes a manageable and rewarding project. When completed correctly, it does not only extend the lifespan of your windows but also improves your home’s comfort and energy-efficiency. Always remember, precision and the choice of quality materials are the cornerstones of a successful window screen replacement.

With all sides properly secured, trim off the excess mesh by running the utility knife along the outer edge of the spline, maintaining a steady hand to avoid damaging the mesh or spline. Attention to detail is crucial here as uneven trimming can affect the visual appeal and functionality of the screen. After installation, inspect your work. The mesh should be taut but not overly stretched, and the spline should sit flush within the groove without gaps. This ensures not only a neat appearance but also optimal performance in keeping insects out. Finally, reattach the screen to your window. Most screens will simply pop back into place, but confirm a snug fit to prevent rattling or gaps that could allow insects to enter. Replacing a window screen mesh might seem daunting, but with the right materials and approach, it becomes a manageable and rewarding project. When completed correctly, it does not only extend the lifespan of your windows but also improves your home’s comfort and energy-efficiency. Always remember, precision and the choice of quality materials are the cornerstones of a successful window screen replacement.


Latest news
-
Unveiling the Allure and Practicality of Classic Mosquito Nets
NewsJul.04,2025 -
Unraveling the World of Mosquito Nets: Varieties, Costs, and Production
NewsJul.04,2025 -
Redefining Protection and Style: The World of Mosquito Nets
NewsJul.04,2025 -
Enhancing Sleep and Style with Contemporary Mosquito Nets
NewsJul.04,2025 -
Diverse Solutions in Mosquito Netting: Sizes, Varieties, and Flexibility
NewsJul.04,2025 -
Deciphering Mosquito Nets: Significance, Varieties, and Applications
NewsJul.04,2025 -
Transforming Bedrooms into Mosquito - Free Havens
NewsJul.01,2025