Jan . 10, 2025 10:31 Back to list
How to Install a Sliding Screen Door: Step-by-Step Instructions
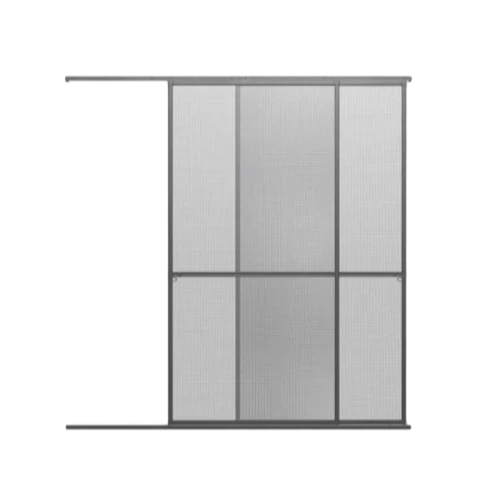
Installing a sliding mesh door is a straightforward process that can enhance your home by allowing fresh air to flow in while keeping insects out. Whether you're looking to replace an old screen or install a brand-new one, this guide will walk you through the process, step-by-step, ensuring that your sliding mesh door installation goes smoothly.
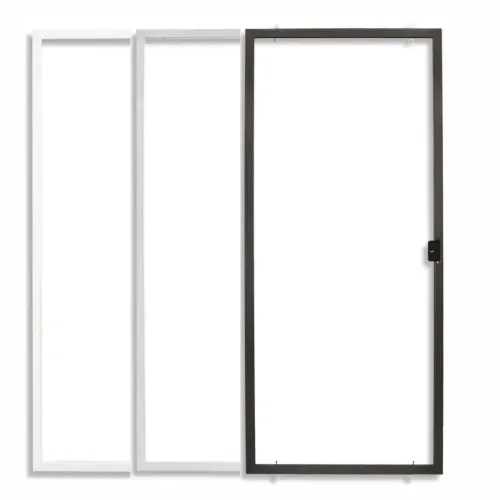
Tools & Materials Needed:
Sliding screen door kit (or pre-purchased screen door)
Tape measure
Screwdriver
Utility knife
Scissors
Pencil
Level
Silicone lubricant (optional)
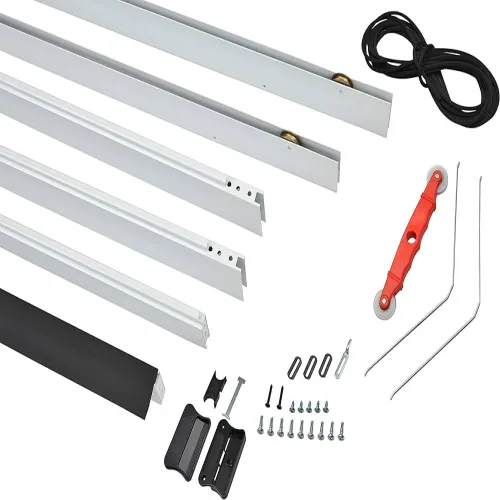
-
1.Measure the Door Frame
Before purchasing or installing your sliding mesh door, you'll need to ensure that you have the correct size. Use a tape measure to measure the width and height of your door frame.
Measure the height from the top to the bottom of the frame. Measure the width from one side of the frame to the other.
Take these measurements to the store or check the specifications of the sliding mesh door kit you’re purchasing. It’s crucial that the screen door fits your door frame perfectly for easy installation and optimal performance.
-
2.Prepare the Door Frame
If you’re replacing an old screen door, start by removing the old frame. Use a screwdriver to unscrew any fasteners that are holding the frame in place. If the door frame has any excess debris or dirt, wipe it down with a cloth.
Inspect the door frame for any damages, such as cracks or rough edges, and make any necessary repairs before proceeding with the installation.
-
3.Install the Track (Optional)
Some sliding mesh door kits come with a bottom track that needs to be installed separately. This track helps guide the movement of the door.
Position the bottom track along the bottom of the door frame.
Ensure it aligns with the door frame evenly, and mark the positions for the screws.
Using a drill, screw in the track securely, ensuring it is level and aligned properly.
-
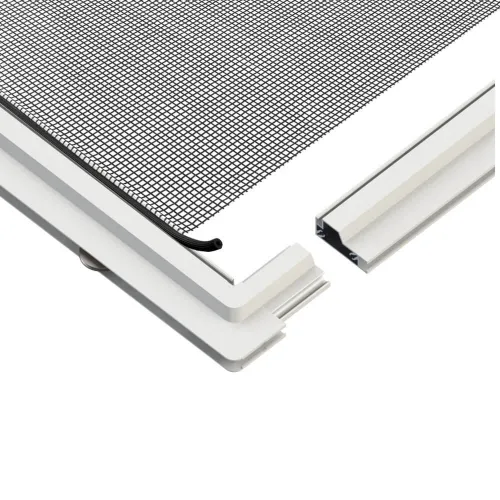
4.Attach the Wheels to the Screen Door
Many sliding mesh doors come with wheels (also known as rollers) that allow the door to slide smoothly. These should be installed at the top and bottom of the screen door.
Locate the roller brackets on your screen door.
Attach the wheels to the designated spots on the screen door using screws. Be sure to follow the manufacturer’s instructions, as the placement of the wheels may vary depending on the model.
Adjust the height of the rollers using the adjustment screws to ensure the door fits within the door frame snugly.
-
5.Install the Door Into the Frame
Now that the wheels are in place, it’s time to install the door into the frame.
Carefully lift the door and position it at an angle, so the wheels are aligned with the top and bottom tracks.
Once in position, lower the door so that the wheels sit into the tracks. If you’re working with a double sliding screen door, repeat the process for the second door.
Test the sliding movement to ensure the door moves smoothly along the track. If necessary, adjust the wheel height to make sure the door is aligned properly and slides without resistance.
-
6.Install the Top Track (If Applicable)
Some sliding door with screen doors also come with a top track that helps stabilize the door and prevent it from swinging out of place. If your kit includes a top track, follow these steps:
Position the track along the top of the door frame.
Mark where the screws should go, and then drill the holes.
Secure the track to the frame, ensuring it aligns properly with the bottom track and the door itself.
-
7.Adjust and Lubricate the Door
To ensure smooth operation, you may want to adjust the wheels one more time. Make sure the door is sitting level in the frame.
Check that the sliding door with screen door slides without catching or dragging.
If the door is not sliding as smoothly as you’d like, apply a silicone lubricant to the tracks and wheels to reduce friction and make the movement even smoother.
-
8.Install the Handle and Lock (Optional)
Some screen on sliding doors come with a handle and lock for added security. To install these:
Mark the spot where the handle will go, typically around the center of the door.
Drill the necessary holes, and screw the handle into place.
If your door has a lock, install it according to the manufacturer’s instructions.
-
9.Final Checks
Before you finish, do a final check to ensure everything is secure and working correctly. Open and close the door a few times to test its movement. Make sure the door stays aligned and does not slide out of the track.
If your screen on sliding door has a safety latch or stopper, make sure it is in place to prevent the door from coming off the track.
-
10.Enjoy Your New Sliding Screen Door
Once you’ve completed the installation, you can now enjoy the fresh air and the protection from bugs that your new sliding door and screen offers. Make sure to clean the screen regularly to maintain visibility and keep dirt and debris from building up.
Tips for Maintenance:
Clean the Tracks: Dust and dirt can accumulate in the tracks and cause your door to slide less smoothly. Regularly clean the tracks using a vacuum or a damp cloth.
Inspect the Screen: If your screen gets torn or damaged, repair it or replace it to maintain protection from insects.
Lubricate the Tracks and Wheels: Periodically apply silicone spray to the tracks and wheels to keep them functioning smoothly.
Conclusion
Installing a sliding mesh door is an easy and rewarding DIY project that adds comfort to your home by improving airflow and keeping insects out. By following these step-by-step instructions, you'll have a sliding screen door installed in no time. Don’t forget to maintain it regularly to ensure it continues to function smoothly for years to come.
Products
Latest news
-
Unveiling the Allure and Practicality of Classic Mosquito Nets
NewsJul.04,2025 -
Unraveling the World of Mosquito Nets: Varieties, Costs, and Production
NewsJul.04,2025 -
Redefining Protection and Style: The World of Mosquito Nets
NewsJul.04,2025 -
Enhancing Sleep and Style with Contemporary Mosquito Nets
NewsJul.04,2025 -
Diverse Solutions in Mosquito Netting: Sizes, Varieties, and Flexibility
NewsJul.04,2025 -
Deciphering Mosquito Nets: Significance, Varieties, and Applications
NewsJul.04,2025 -
Transforming Bedrooms into Mosquito - Free Havens
NewsJul.01,2025


